Bogleech Arts and Crafts: Make Your Own Tumor Monsters!
Written by Jonathan Wojcik
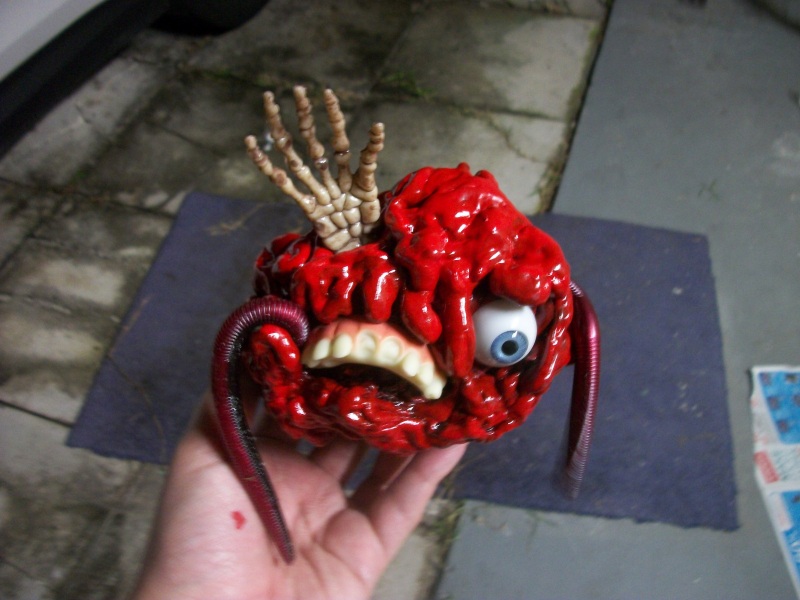
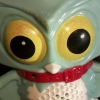
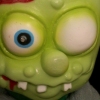
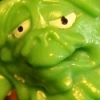
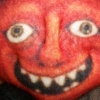
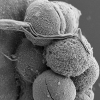
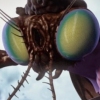
So there's no doubt you were immediately charmed at the sight of this little guy, and are probably asking aloud to your computer monitor how you can get one of your own, to slither around your house eating the scabs off your old bandages and leaving little phlegm trails in and out of your cupboards, but believe it or not, it's completely for-pretend! I made it! And you can also make one! I didn't mean to put this off until Halloween eve, but better late than never...and now you can get some ready for next year!
Things You Will Need:
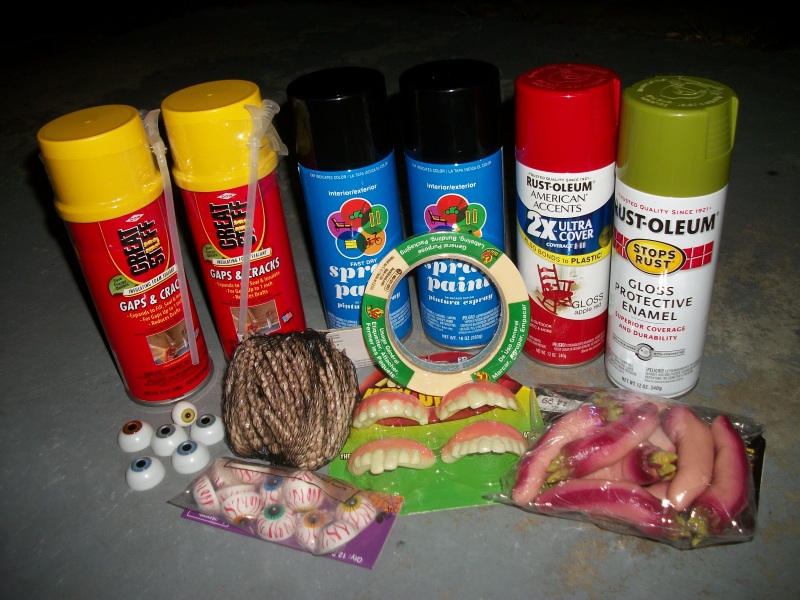
To make your very own realistic wad of mutant flesh, you're mostly going to need gap filler, the stuff on the left, along with black spray paint, colored spray paint, masking tape, glue and any assortment of small, fake body parts and other doo-dads.
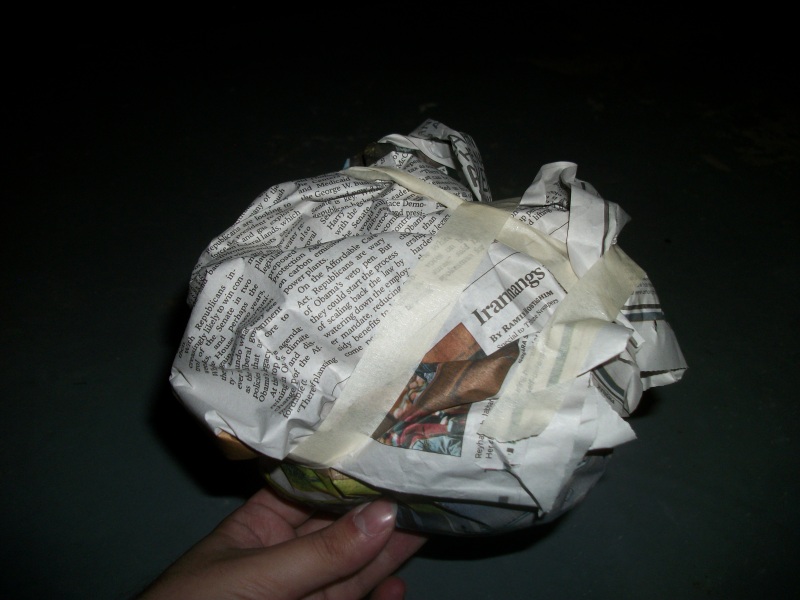
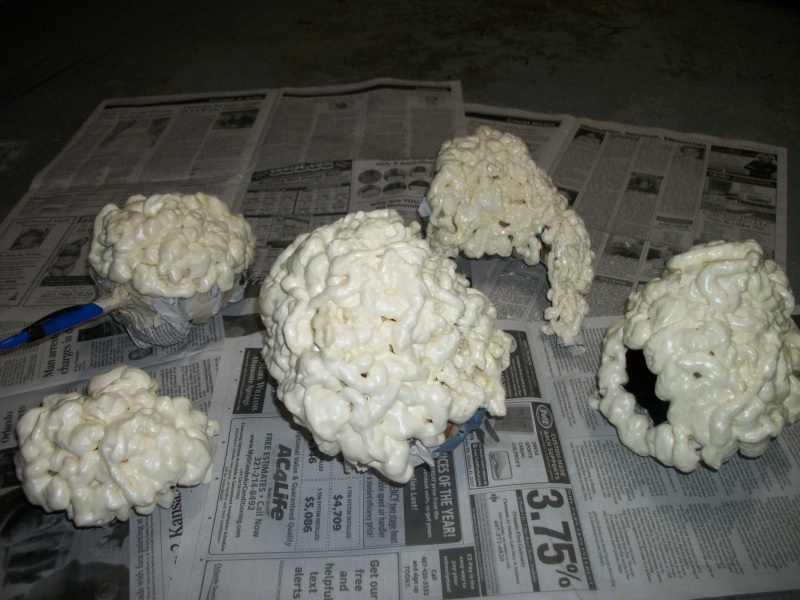
STEP ONE: Make paper wads!
Just crumple up some paper, or any other lightweight garbage, and wrap it in some masking tape. Any random, meaningless shape will do!
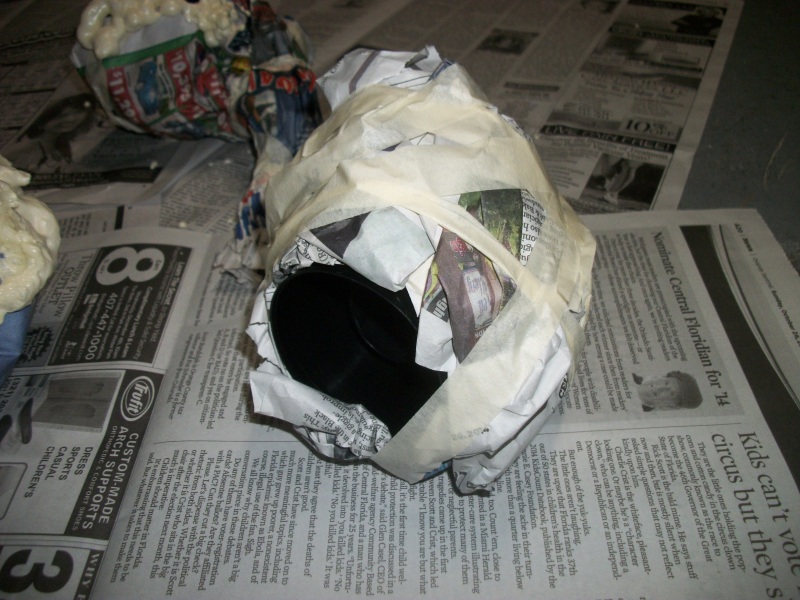
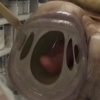
While I was at it, I made some other paper clumps, and crafted one directly around one of the spray paint lids, creating a nice deep orifice we can make use of later! Not that kind of use!
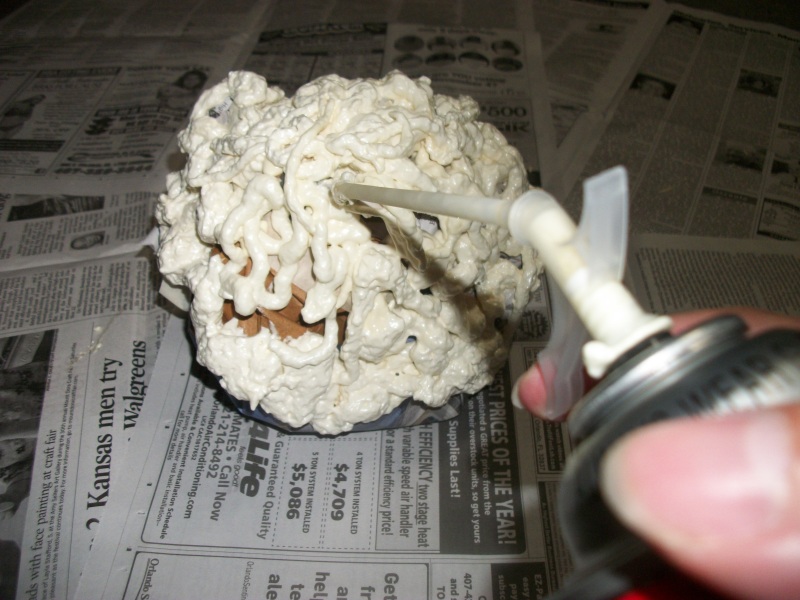
STEP TWO: Apply Foam
Shake up the gap filler, screw on the applicator tube, and very carefully, gentle squeeze some out all over your paper base. Do this outside, on some newspaper or concrete. This stuff releases toxic fumes as it dries. It is also highly flammable, and it will stick to your skin like glue. Be very careful messing around with it!
Wait a while for the stuff to dry, then flip all your wads over and apply foam to the other side.
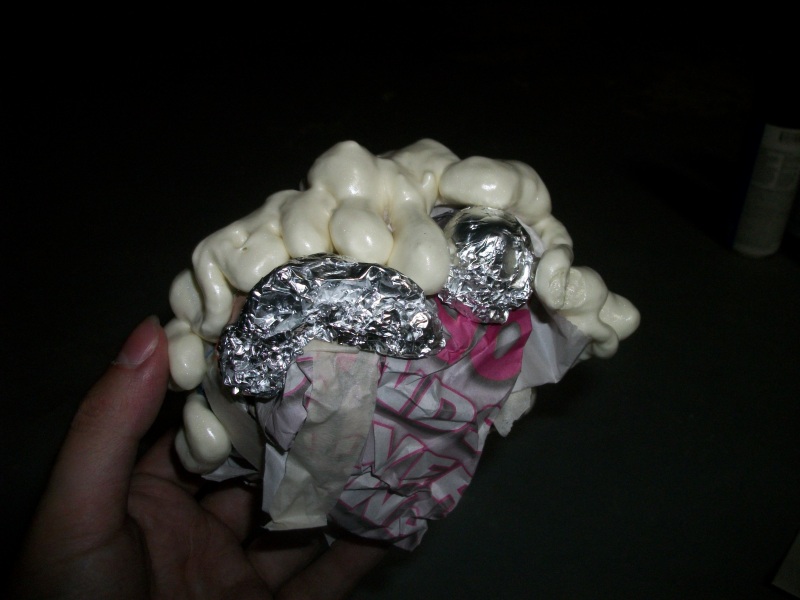
If you want, you can also wrap some of the facial features in tinfoil and tape them on mid-way through this stage. The foam will dry into nice "sockets" around them, and the foil will keep paint off the details until you peel it off later.
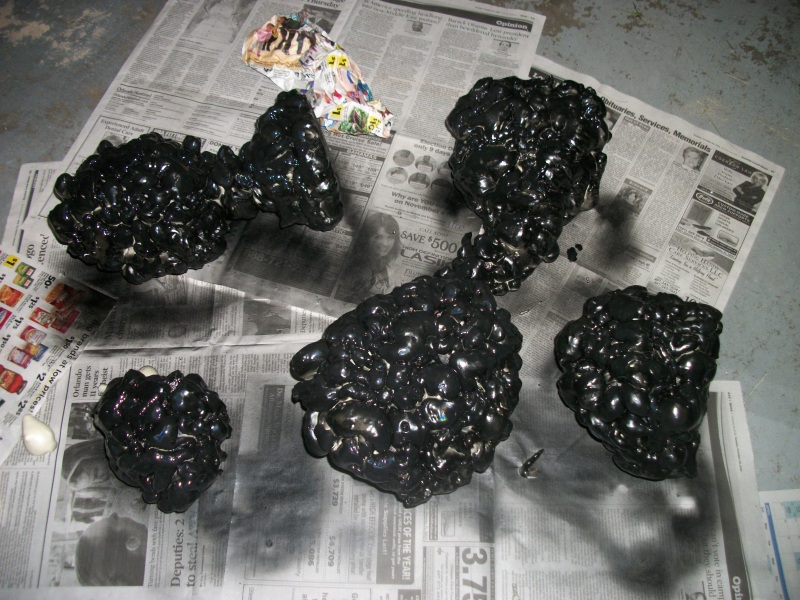
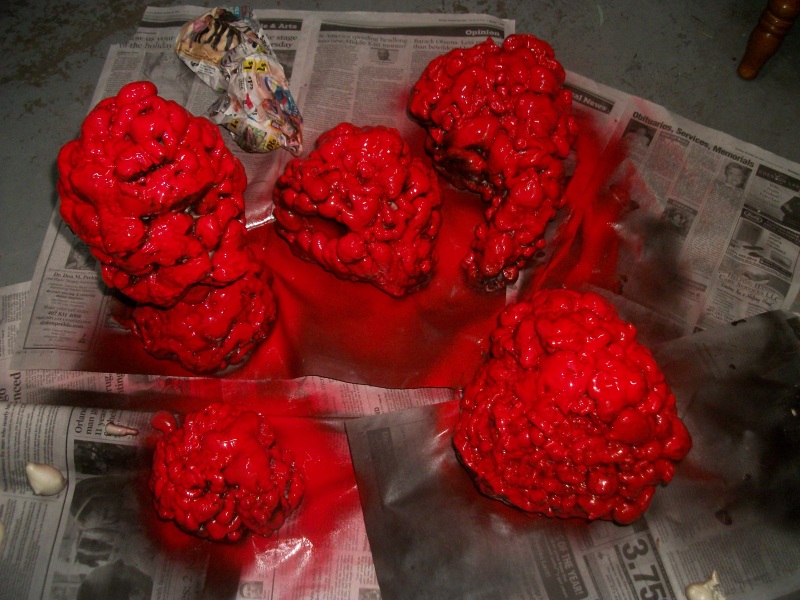
STEP THREE: Paint
When the foam is completely hard and no longer rubbery, spray the blobs with a nice undercoat of black. This may take several applications, and you'll have to keep turning them over. We don't want that light colored foam to show through every crack and flaw in the finished polyp!
When that's dry, repeat the whole painting process with your final colors! For now, I'm just going with one color; cherry red "high gloss" coat, which will keep looking a little moist and meaty for years to come.
STEP FOUR: Decorate them!
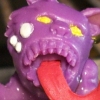
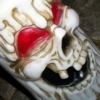
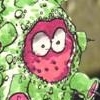
If you used the foil method, you can pull it all away and the parts should still be held in place by the foam. If not, you can glue them back in! Otherwise, you'll always be able to find nice nooks and crannies to glue other stuff. Medical gauze also looks nice on them, and I wound up shoving a bunch of severed fingers into that orifice we made.
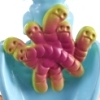
Those rubber worms, from Wal-Mart's bait aisle, glue on amazingly well by the way. I wasn't sure how they would work out, but super glue melts their rubber firmly into place.
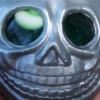
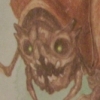
Try anything! Rubber bugs, rusty nails, fake plant parts, there's no limit to how weird and silly you can get...or even how big, if you can spare the extra cash.
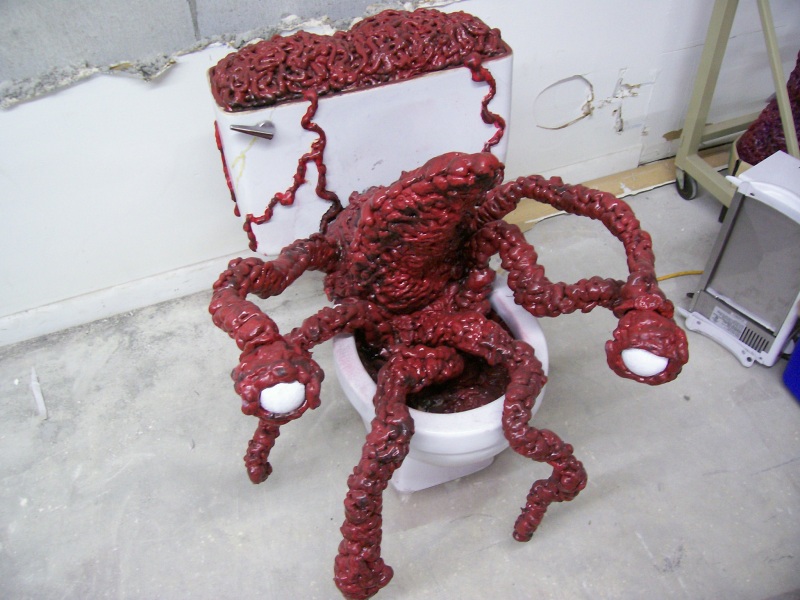
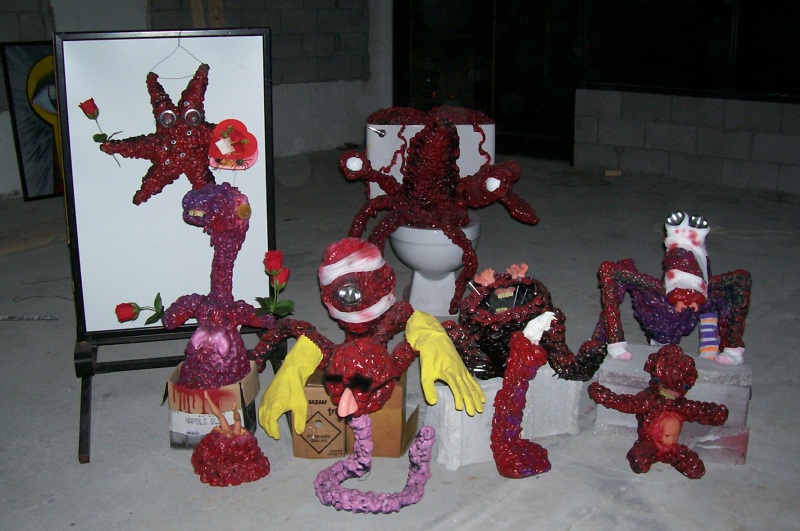
Many years ago, I came up with this whole process on the fly when I was asked to participate in a one-weekend art show. Going totally overboard, I turned an entire discarded toilet into a meat monster with a supporting skeleton of wire coat hangers. Sadly, there just aren't many places you can store a whole unusable toilet with fake tentacles, and the monster has since fallen apart in a back yard. At least I can say that some of my artwork has been a breeding ground for mosquitoes over the last five years, so I've pretty much already realized my creative destiny long ago. It's all been downhill ever since.
Fortunately, I still have the rest of the things I whipped up for the show; if kept indoors, your meat monsters will last forever!
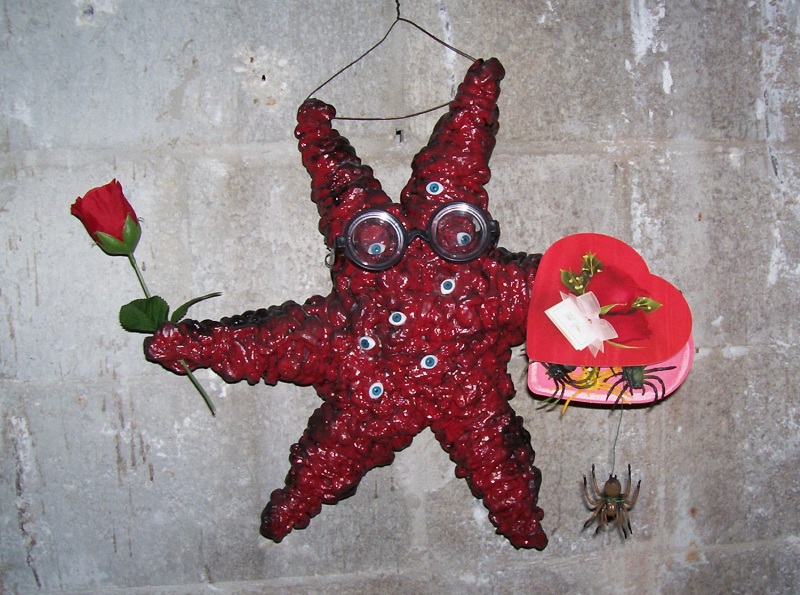
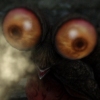
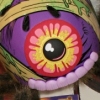
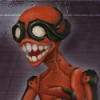
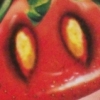
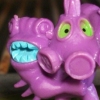
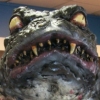
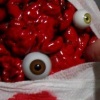
This little guy is still my favorite, decorated entirely with stuff I found at the Dollar Tree around Valentine's Day. The eyes were cut out of multiple dollar store baby dolls, whose faces and hands were put to use in some of the other blobsters. Obviously, it's more economical to order doll eyes off ebay or etsy, when you have more time to work with.
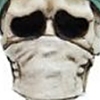
Last year, I finally used this trick to make an entire costume...which I had nowhere to really wear, and due to its hollow but heavy construction, it's since warped to the point of being nigh unusable. This unfortunately aligned video is the only evidence ever captured of its original glory, but as I write this, I'm waiting for a new, even better one to dry, so we'll see how good it looks tomorrow at our friend's big Halloween party.
I expect at least somebody to make some little teratomas of their own to show me...consider it as a longer-lasting alternative to pumpkin carving tomorrow night, or fill that virtually holiday-less void that happens in December!